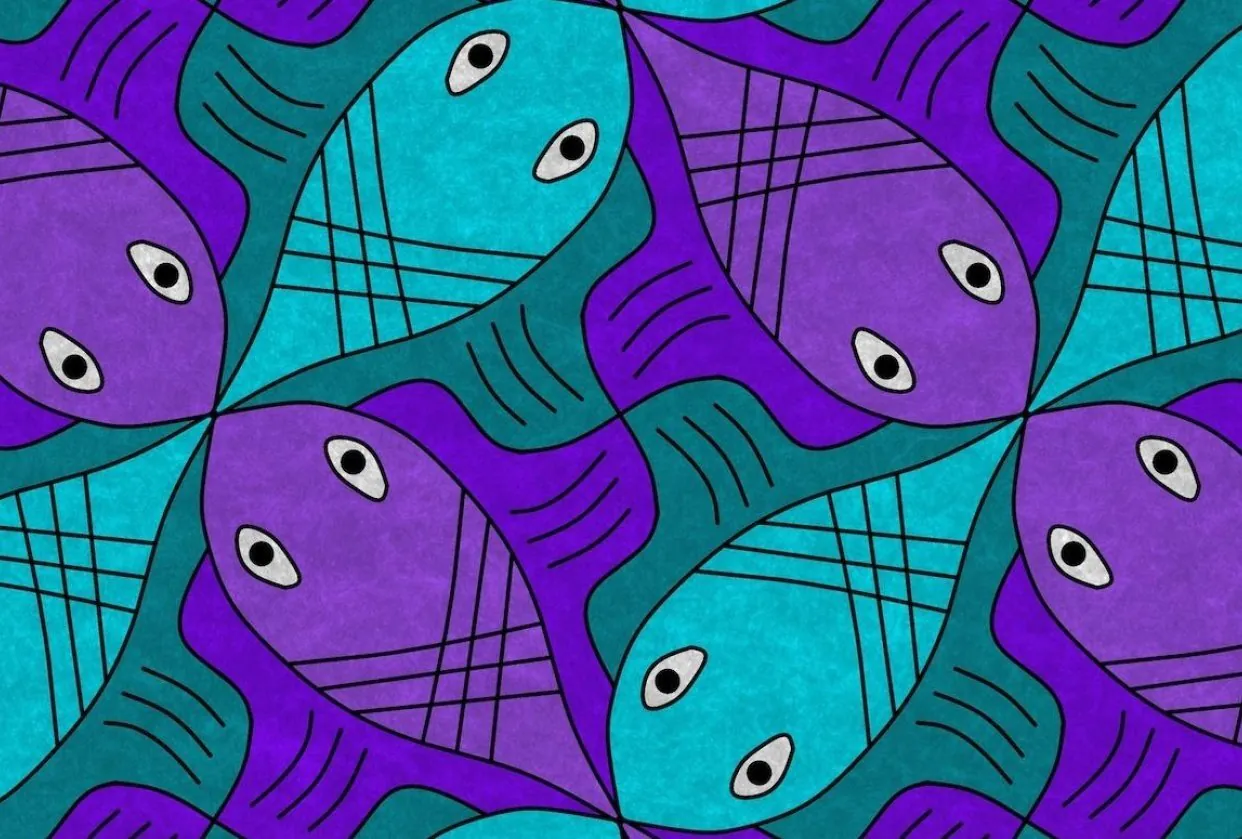
How To Create Tessellation Art With Perfect Symmetry
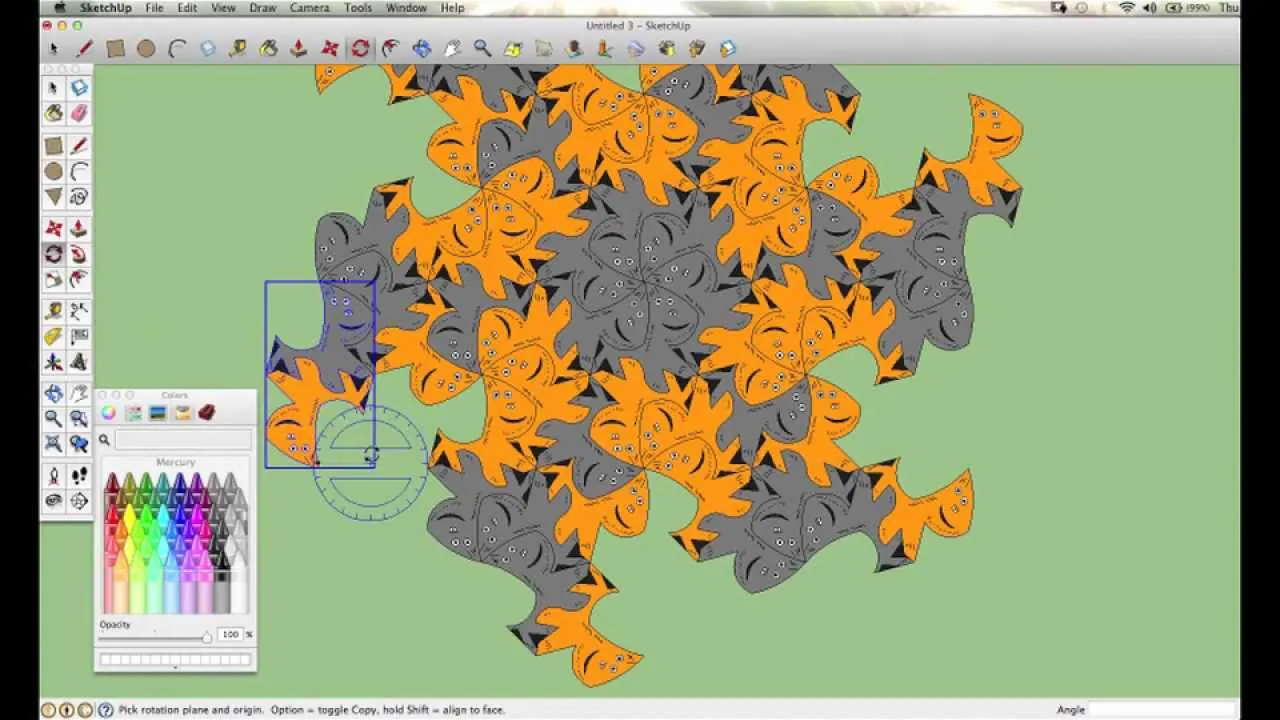
The continuous flow of similar symmetrical designs is the topmost feature of tessellation art that fascinates those who want to keep adoring the repetitive yet compelling artworks. The roots of this art are linked to various cultures, including the ancient Greek and Roman societies, where primitive artists and architects pioneered tessellation in their mosaics, walls, and floor tiles. Later, in the early 20th century, it gained noteworthy progress with the discovery of geometric concepts and mathematical patterns, further intensifying tessellation patterns and designs. Apart from its cultural association, tessellation art usage has now become integral to several design-related domains, including construction graphic design, the textile industry, photography, paintings, marketing, etc. When the harmony of patterns is combined with color iterations, the view becomes a source of simple and pure joy, often a thrilling optical challenge for onlookers, and they enjoy just looking at it. To create your tessellation art, this blog article is your guide to the step-by-step process of making flawlessly symmetrical tessellations.
Step 1: Find compatible, tessellation-efficient software
Picking the correct advanced design program is pivotal for making tessellation art. You’ll require a program that eases the drawing of shapes, designs, and color manipulations. Adobe Photoshop and Illustrator are handy options, offering various tools for angular shape creation and color palettes.
Likewise, you can go for tessellation art-specific applications like Tess or Escher Web Sketch, which can simplify the process. These tools include functions adapted to the needs of tiling artists and aid in the scheme of complex geometrical shapes.
Practice with different options in the software’s user interface, check your familiarity with it, and consider your general design aspiration. Every program has its own set of specifications, so opt for the one that is per your inventive ideas and can make your art look appealing.
Step 2: Adjust your canvas size and resolution
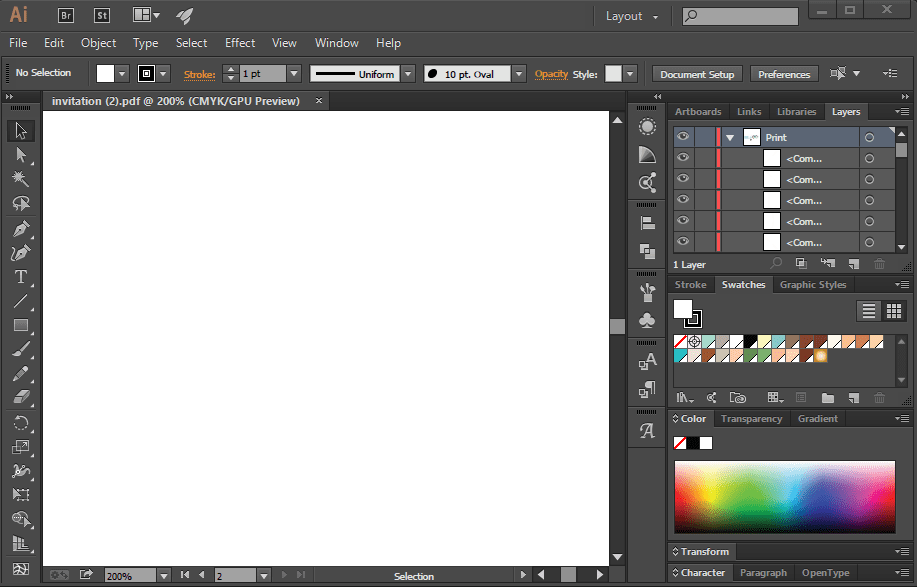
Start setting up your canvas by establishing its dimensions first. Think about the size you would like for your tessellation art. A broader canvas gives a greater area for elaborate patterns; however, a smaller canvas can accommodate more simple designs better.
Tune the resolution of your canvas in pixels per inch (PPI). A comparatively higher resolution is beneficial for complicated work, specifically if you are going to print your designs.
Choose a color mode, such as RGB for digital display and CMYK for printing. Remember to make your color mode related to your envisioned output.
Think about the backdrop shades or design. A solid background can enable your tessellation pattern phenomenon, whereas a textured or multicolored background can create dimension and flair.
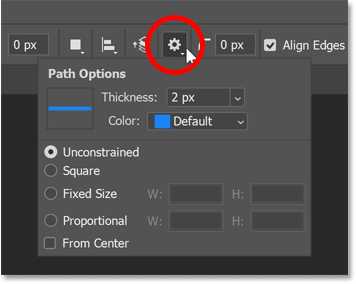
Locate gridlines or guide features in your software to stay in symmetry and correct position as you work. Customize them to your desired spacing or size.
Step 3: Make the geometrical base
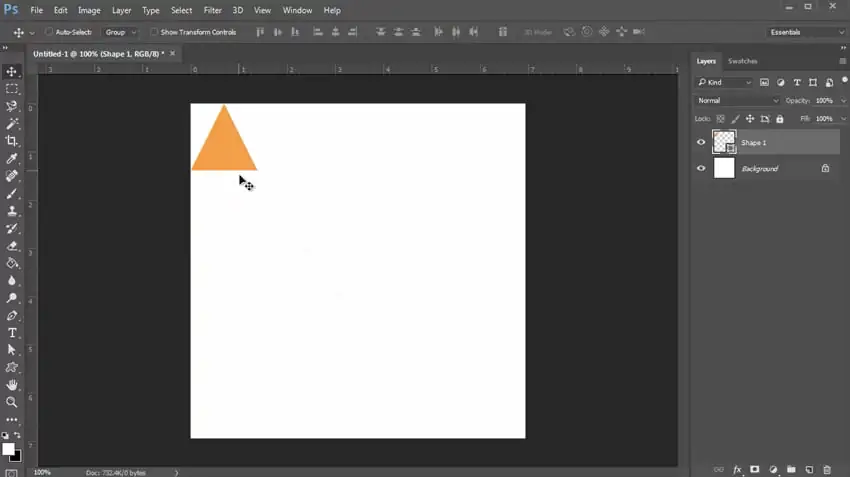
For the foundation of your artwork, think about creating the initial geometric form that will act as the starting point of your tessellation. You can consider triangles, squares, hexagons, or rhombuses as examples.
Next, draw your primary shapes via the shape-drawing tools in your software and build the initial theme. Your figures should be accurately formed and positioned according to the canvas. Remember, this initial design will be the anchor point for the rest of the tessellation.
Indicate the variables like size, orientation, and color of the beginning shape. The details you set will be used as a template for duplicating and editing this shape later.
Arrange the initial shape judiciously on the canvas, considering how it will fit with the surrounding shapes of the tessellation art. Correct placement is critical for an immaculate design.
Create a distinct layer for your starter shape. This layer order will maintain your tessellation components neatly as you move forward.
Keep saving your design progress regularly to minimize the degradation of your creative progress.
Step 4: Replicate and organize your original shape
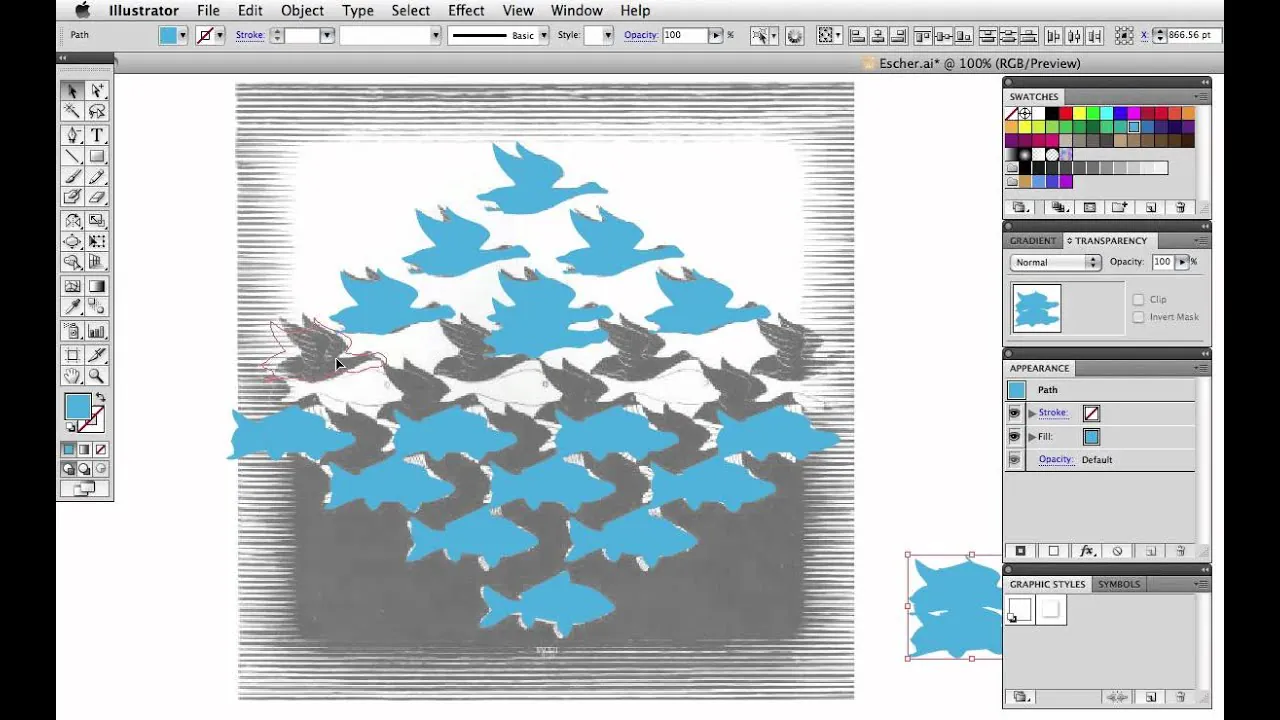
Apply the copy-paste or duplicate option in your chosen software. Alternatively, shortcuts like Ctrl+C and Ctrl+V in Adobe Illustrator or Photoshop can be used.
Relocate the duplicated shape to a nearby region where it fits smoothly with the main shape. Avoid leaving any gaps or overlaps in between the shapes.
Select alignment tools within your software to align the duplicated shape correctly alongside the original. It will produce uniformity and symmetry in your composition.
Keep duplicating and aligning shapes, and stretch your tessellation all over your canvas. Play with different angles and placements to develop sophisticated patterns.
Group the duplicated shapes into separate layers to easily cope with your tessellation’s expanding degree of detail.
Consider the color scheme you want for your tessellation, whether it is meant to be in a single color or you want to play with multiple colors. Take care to uphold color coherence throughout the design.
Take a close-up of your canvas to check for precise equilibrium and organization. This assessment of every detail ensures that your tessellation art is in error-free order.
Step 5: Try variations and adjustment options
Alter the size of some shapes to create variety in your tessellation. You can get aid from tools like scaling or resizing.
Make appealing modifications to your color palette. Select the software’s color picker swatch functions and add colors to separate shapes. Keep color unity in the overall structure.
Try placing some shapes at multiple angles using rotation tools to lend dimension and vibrancy to your tessellation.
Fine-tune the opacity of modified shapes to simulate delicate visual implications and highlight favorite aspects of your tessellation.
Have fun with motifs and textures to apply to various shapes. Look for pattern overlay options in your software menu, or you can import custom patterns.
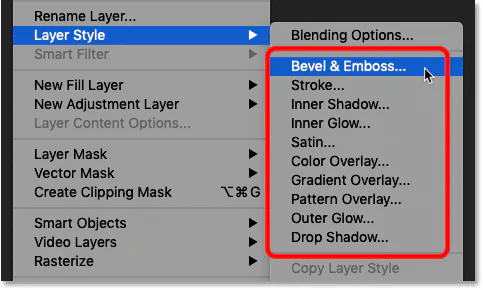
Take advantage of layer styles available within your software to incorporate modifications like gradients, shadows, or glows into selected shapes.
Try symmetrical configurations using symmetry options that facilitate the immediate development of mirrored frameworks.
Try your hand with blend modes to accomplish distinctive combinations between overlapping shapes.
Once satisfied with your creative modifications, move on to the later steps.
Step 6: Improve the visual appeal of your design
Critically review the positioning of shapes to make certain there are no apparent distances or crossovers between them. Use alignment and distribution options to refine positioning.
Confirm that your tessellation stays in order if that’s an envisioned component of your design. Eliminate any shapes that wander from the planned symmetrical setup.
Check that any variations in the size of the shapes are unified and purposeful. This consistency check makes up for the whole visual connection.
Double-check the color palette for cohesion and visual impact. Calibrate colors as required for a complementary color scheme.
If your artwork contains patterns or textures, ensure they fit evenly across adjacent shapes. And establish a continuous pattern of flow.
Organize your layers to make it easier to navigate and edit individual components of your tessellation.
Re-analyze your tessellation at various magnification levels to determine its appearance, both close and from a distance. This analysis ensures the visual engagement of your composition in multiple contexts.
Keep a backup copy of your project before continuing, in case you want to retrace your steps.
Step 7: Amplify shades and transparency
Reconsider the color palette and carry out any essential refinements, making colors correspond to your artistic goal.
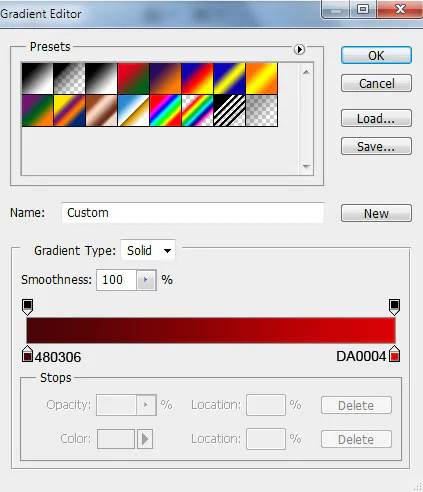
Experiment with gradient fills to add profundity to your design. Gradients are helpful for smooth shifts between colors among shapes.
Toggle the transparency of selected shapes to create translucent or semi-transparent effects, especially in areas where shapes overlap.
Apply the layer styles displayed by your software layer options to produce effects like shadows, bevels, or glows. These effects can include a 3D type to your tessellation.
Incorporate pattern fills into your design as needed. These files can be applied to specific forms or portions of a structure.
Monitor the overall color integration on a regular basis and confirm that the colors function together and communicate the desirable theme.
Step 8: Put the finishing touches on and export
Thoroughly scan your tessellation art for any imperfections or deviations and carry out any required corrections.
Preserve your design in a suitable file format and ensure it’s backed up securely. Also, regard your intended use, like digital display or printing.
Tune resolution and image quality to accommodate your intended use, deciding for higher resolutions in print and reduced ones for digital display.
Keep your tessellation files neatly arranged in a designated folder or file directory.
Finally, share your tessellation composition on your blogs, social media posts, art exhibits, or with friends to acknowledge your achievement.
Conclusion
In conclusion, the exemplary symmetry in digital tessellation art is a source of substantial viewer appeal. Every aspect, from design shapes and sizes to color choice and texture effects, is accurately controlled at the unit level, highlighting this art above others. The earliest tessellation artists spent much time and effort to create these art marvels, which are still adored for their historical charm. However, in the busy lives of contemporary artists, they can only partially rely on conventional art methods. Digital tools like Photoshop, Illustrator, and Escher Web Sketch facilitate them in their creative projects and impart precision and diversity to their art, as in tessellation works.
