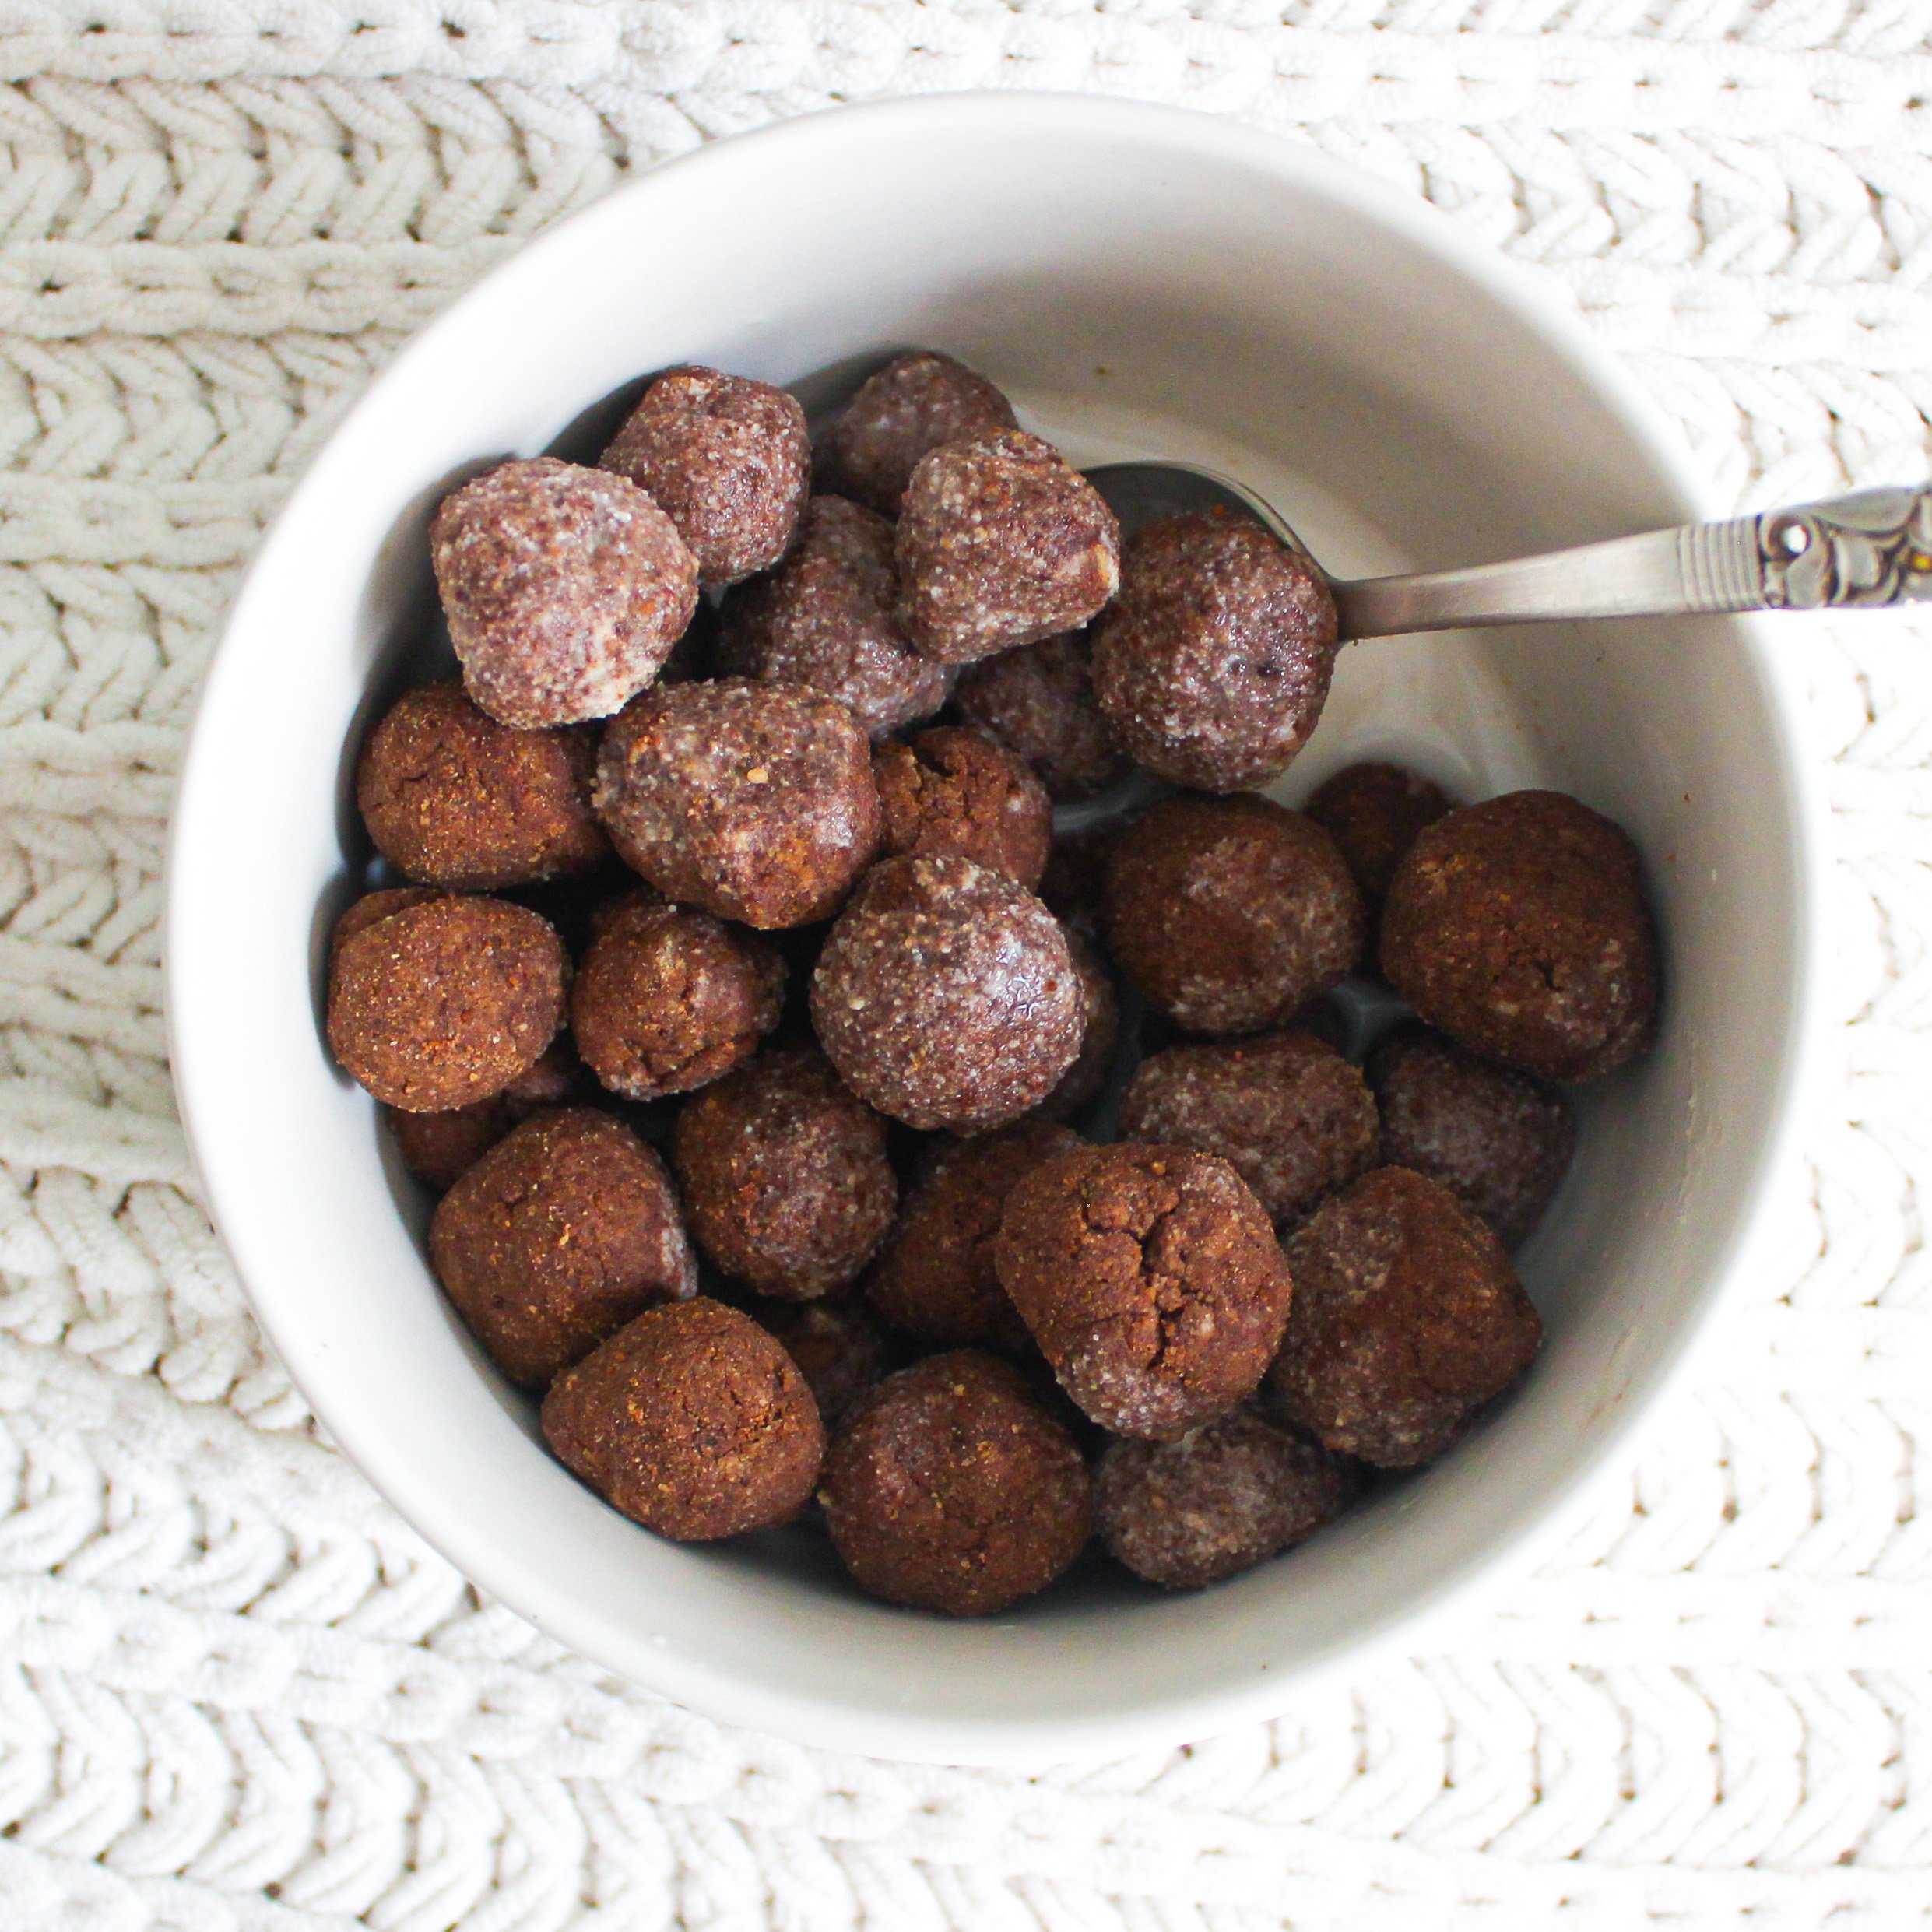
Vegan Cocoa Puffs Cereal
Homemade vegan cocoa puffs cereal is a healthier alternative to store-bought Cocoa Puffs.
I’ll be honest - I can’t remember the last time I ate Cocoa Puffs cereal. I ate a TON of cereal when I was a kid and Cocoa Puffs was always in that rotation, but as an adult I find myself eating less cereal overall. A few days ago though, I got a rare craving for cereal, specifically Cocoa Puffs. So, I wanted to see if there was a way to make vegan Cocoa Puffs cereal at home AND I wanted to see if I could make it taste delicious. I’m happy to report that when I made this vegan cereal recipe I ate an entire bowl so fast, I almost didn’t get a picture of it. That’s how you know it’s good.
For the uninitiated, Cocoa Puffs is a popular cereal that’s basically little balls of chocolatey goodness. For a chocolate-lover like me, Cocoa Puffs were how I liked to start my mornings. This vegan Cocoa Puffs cereal is homemade, so it takes a bit more work than just opening a cardboard box and pouring the cereal into a bowl. But, the work is worth it! Many store-bought cereals contain preservatives, dyes, and other weird ingredients that you may not want to eat everyday. But, this homemade Cocoa Puffs cereal is chocolate-y, crunchy, and made with ingredients that you can pronounce!
What do Cocoa Puffs taste like?
Cocoa Puffs are a popular cereal that consists of little balls of crunchy chocolate. If you love chocolate, you’ve probably already had a bowl (or 100 bowls) of Cocoa Puffs. If you’re new to them, though, then this is a good introduction if you’re someone who likes to make cereal at home, or want to enjoy a homemade cereal that’s a healthier alternative to store-bought.
What are the ingredients in Cocoa Puffs cereal? Is it vegan?
Store-bought Cocoa Puffs have quite a few ingredients. Are you ready?
Whole Grain Corn, Sugar, Corn Meal, Corn Syrup, Cocoa Processed with Alkali, Canola Oil, Fructose, Salt, Caramel Color, Refiner’s Syrup, Baking Soda, Natural Flavor.
Like most cereals, it’s also fortified with vitamins and minerals to make it healthier in general. One of those vitamins is vitamin D3, which is derived from animals. So, many vegans avoid eating store-bought Cocoa Puffs because it technically isn’t vegan.
What are the ingredients for this recipe?
To make these homemade Cocoa Puffs, you only need a few ingredients:
Whole Wheat Flour: this is the main base for our cereal. I prefer whole wheat flour for a crunchier result.
Coconut Flour: to soften the cereal so it’s not rock hard. The balance of whole wheat flour + coconut flour creates the perfect crunchy texture for this cereal.
Cocoa Powder: because chocolate!
Coconut Sugar: for a bit of sweetness.
Maple Syrup: deepens the flavors.
Oil: helps to bring the dough together.
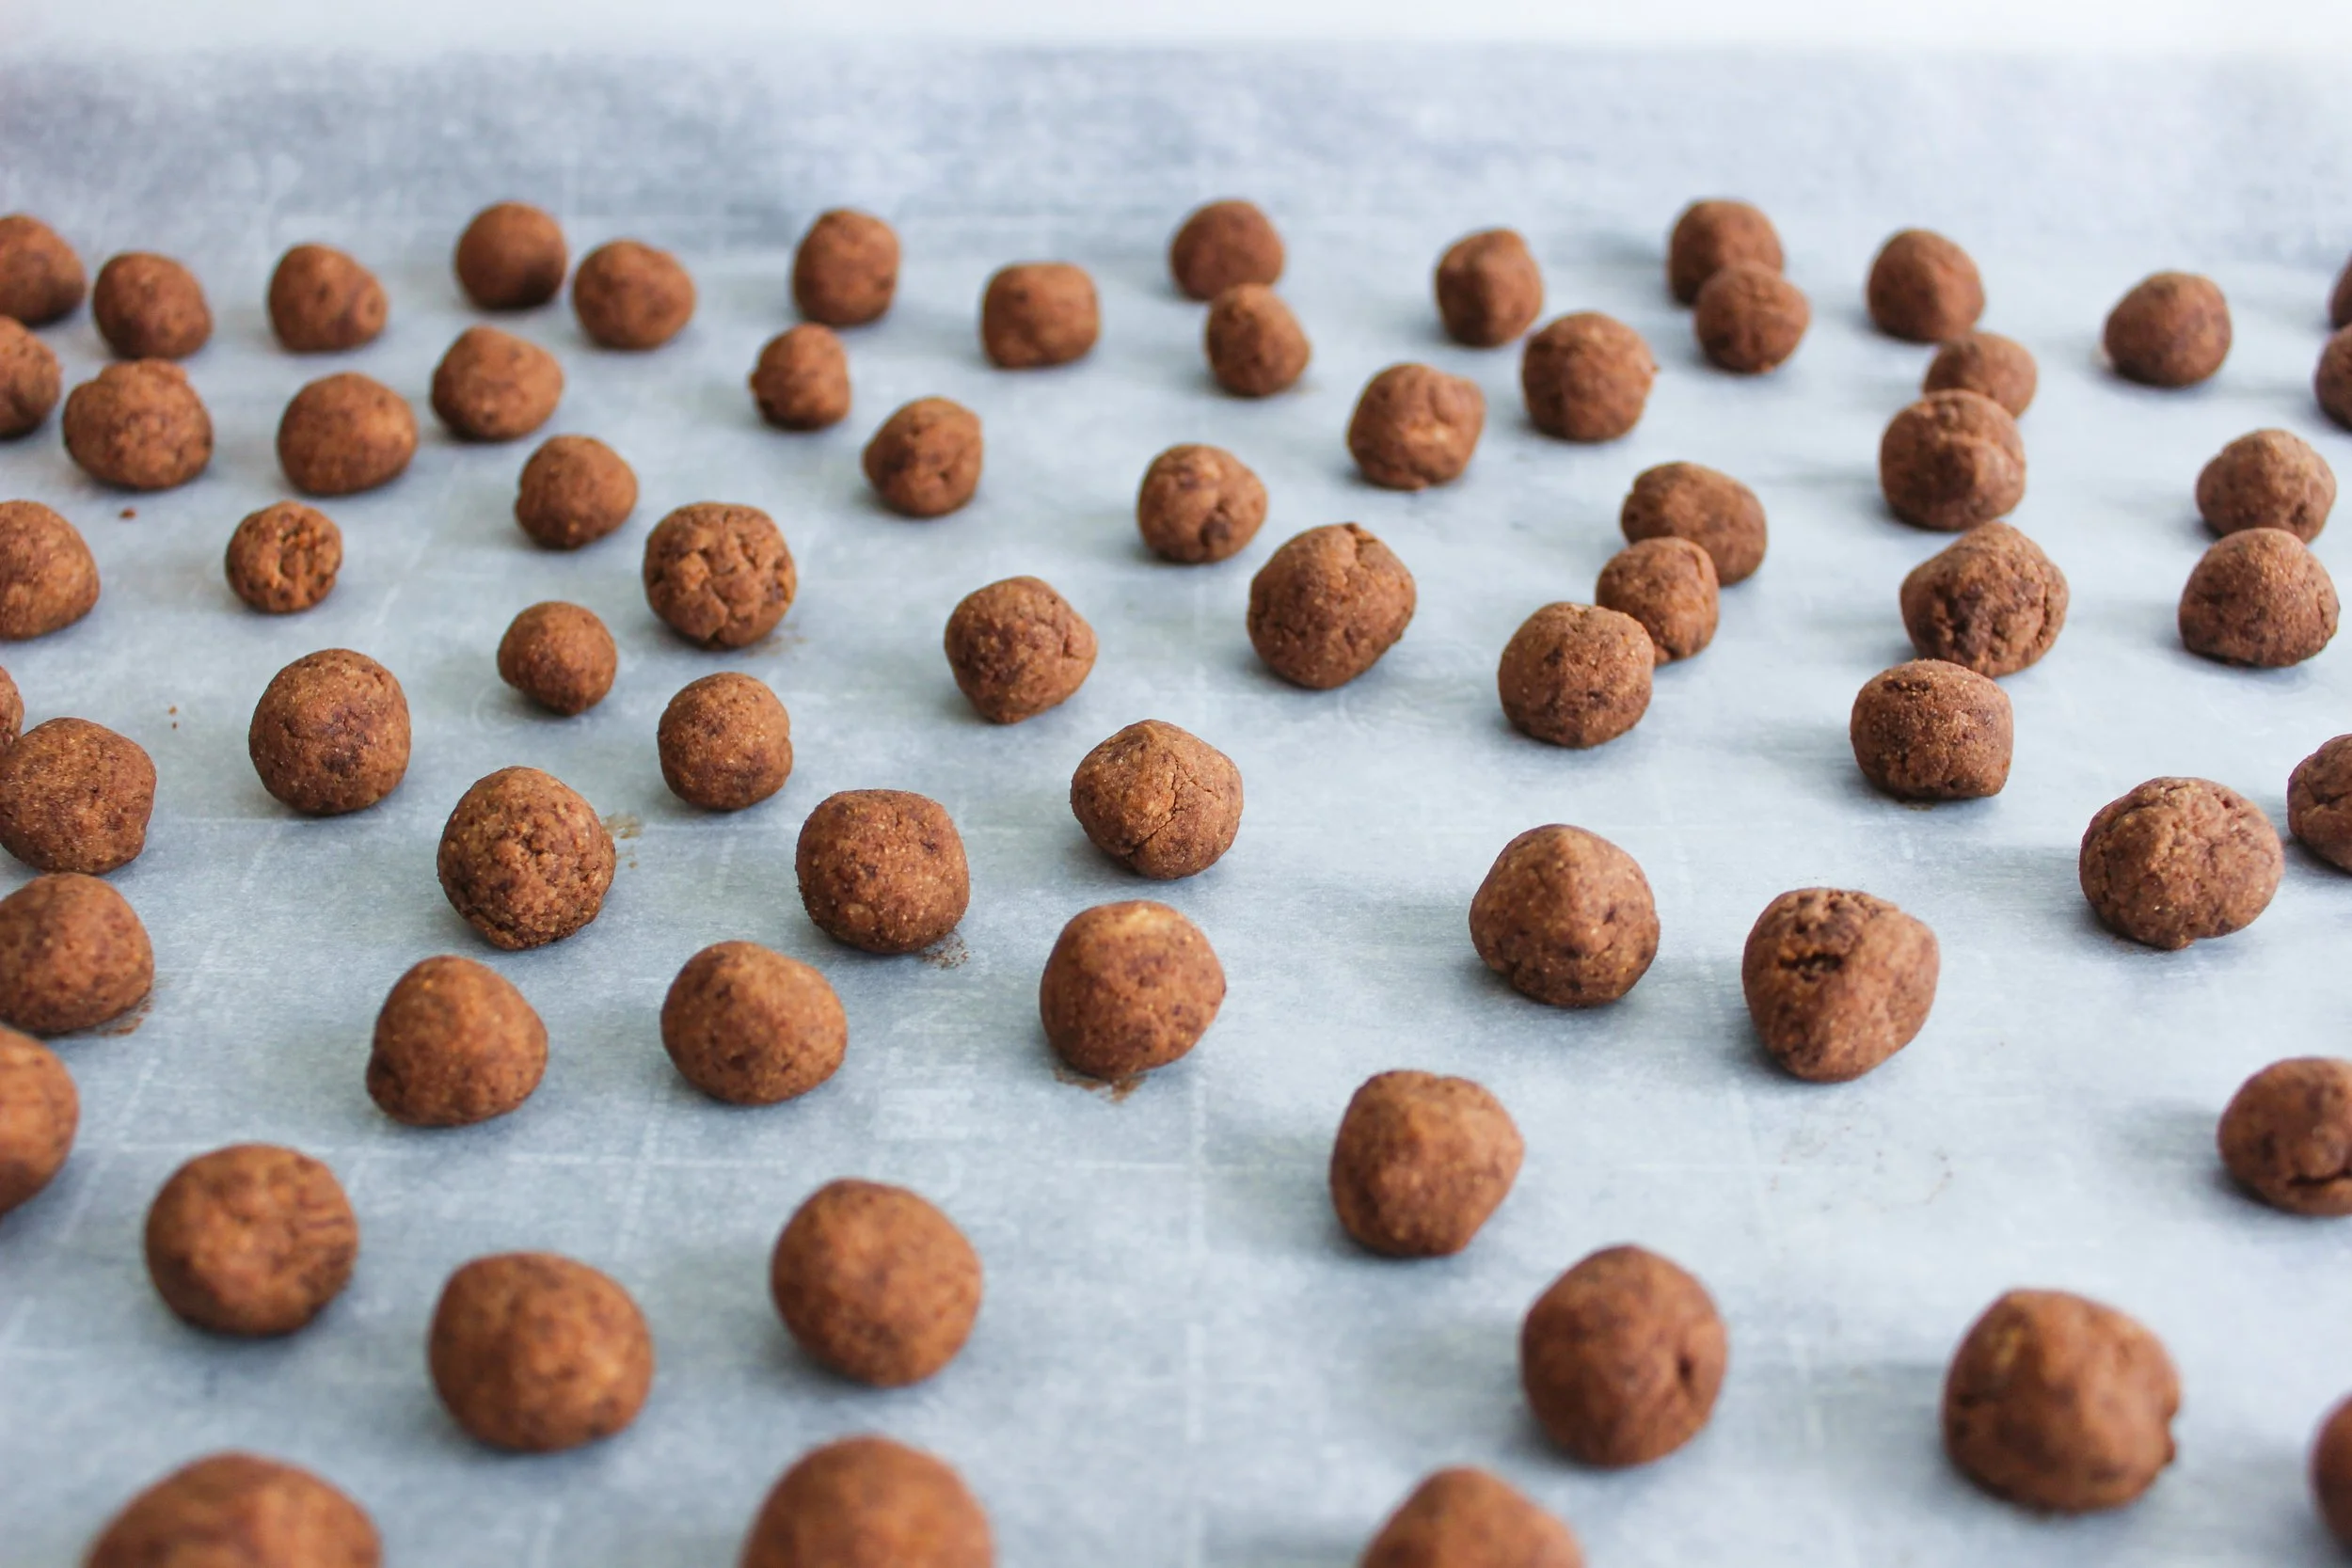
How do you make this cereal?
Once you mix the ingredients together and create the dough, you’ll pinch off small 1/4 - 1/2 tsp pieces of dough and roll it into a ball. The smaller, the better! Place these balls on a baking sheet and bake for about 12 minutes, until the cereal is baked through. Cool completely before enjoying with a bowl of cereal. The longer the cereal sits, the crunchier it will be.
And yes, this cereal stays crunchy in milk which is a huge plus!

Vegan Cocoa Puffs Cereal
Ingredients
- 1/2 c whole wheat flour
- 1/4 c coconut flour
- 2 tbsp cocoa powder
- 2 tbsp coconut sugar
- 1 tbsp maple syrup
- 1/4 c + 1 tbsp oil (I used coconut oil)
Instructions
- Preheat oven to 350 F degrees. Line a baking sheet with parchment paper.
- In a large bowl, mix the dry ingredients together.
- Add in the maple syrup and coconut oil and mix until a dough forms.
- Pinch off 1/4 - 1/2 tsp pieces from the dough and roll into a ball. This may take some time, but it’s worth it. Don’t worry if the balls are slightly too large or small. Place each piece on the baking sheet in a single layer.
- Bake for about 12 minutes, until the cereal is crisp and slightly darker in color.
- Cool cereal on wire racks. They will get even crunchier over time! Serve with non-dairy milk.
- Store cereal in an airtight container out of direct sunlight for about one week.